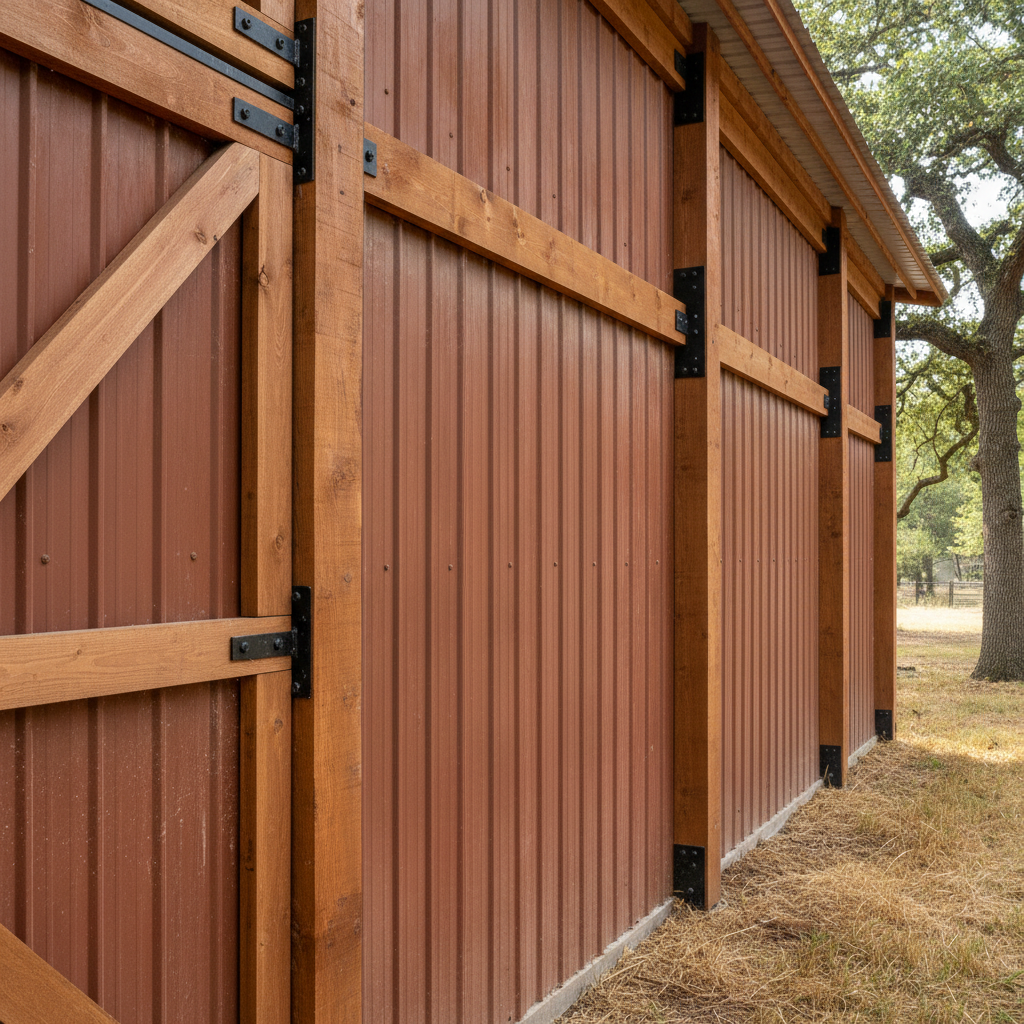
So, you're looking at a pole barn kit for your property here in Dallas. Maybe you need a workshop, some extra storage, or a place for your RV. Kits are appealing because they seem like a way to save some cash, and for a lot of folks, that's true. But let's be real, it's not like assembling IKEA furniture. There's a lot to consider before you even order the kit, during the build, and even after it's up. I've seen plenty of folks try to go it alone, and sometimes it works out great, sometimes it turns into a headache.
Before You Buy That Kit: The Homework Phase
This is where most people either set themselves up for success or for a world of trouble. Don't skip these steps, seriously.
- Permits, Permits, Permits: This is non-negotiable. You absolutely need to check with the City of Dallas Building Inspection Division, or your specific county if you're outside city limits, about what permits you'll need. They'll have requirements for setbacks, size, foundation, and even the type of materials. Don't just assume a small kit won't need one; it almost certainly will. Getting caught building without a permit is a mess you don't want to deal with.
- Zoning and HOAs: Is your property zoned for an accessory structure of the size you're planning? If you're in a neighborhood with an HOA, you know they can be particular. They often have rules about building aesthetics, colors, and placement. Get their approval in writing before you spend a dime on a kit.
- Site Prep & Foundation: This is huge, especially around here. Dallas soil, with its expansive clay, is notorious for shifting. You can't just plop a pole barn anywhere. You'll need a level site, and depending on the kit and your local codes, you might need a concrete slab, footings, or a gravel base. If you're not experienced with grading, drainage, and laying a proper foundation, this is a prime spot to call in a professional. A bad foundation means a crooked, unstable barn down the road.
- Kit Selection: Do your research. Not all kits are created equal. Look for reputable suppliers. What's included? Just the frame? Or does it come with roofing, siding, doors, and windows? What kind of fasteners? What are the wind load ratings? You're in Texas; we get some serious storms. Make sure your kit can handle it.
During the Build: Where DIY Meets Reality
Okay, you've got your permits, your site is prepped, and the kit has arrived. Now the real work begins. This is where you need to be honest with yourself about your skills and your available time.
- Unloading and Inventory: Kits come with a lot of pieces. Make sure you have a plan for unloading and storing everything so it's protected from the elements and easy to find. Check every single piece against the packing list. Missing parts can halt your project for weeks.
- Framing - The Backbone: Erecting the poles and framing the structure is usually the most labor-intensive part. You'll need some serious muscle, proper lifting equipment (like a telehandler or a skid steer with forks, not just a couple of buddies and a ladder), and a good understanding of construction principles. If you're not comfortable with plumb lines, levels, and securing heavy timbers, this is where a general contractor or a framing crew can save you a lot of grief and potential injury. Don't underestimate the danger of falling lumber or an unstable frame.
- Roofing and Siding: This is often where a lot of DIYers feel more comfortable. Installing metal roofing or siding panels can be done by a homeowner with a good plan, the right tools, and a healthy respect for heights. Just make sure you're following the manufacturer's instructions to a T to ensure proper waterproofing and structural integrity. Flashing around openings is critical.
- Doors and Windows: These are generally straightforward installations if you're handy. Just follow the instructions that come with them.
- Electrical and Plumbing: Unless you're a licensed electrician or plumber, do not try to do this yourself. It's not just about getting it to work; it's about safety and code compliance. Improper wiring can cause fires, and bad plumbing can lead to leaks and structural damage. Always hire licensed professionals for these trades.
After It's Built: The Finishing Touches and Long-Term Care
You've done it! Your pole barn is standing. But the job's not quite over.
- Inspections: Don't forget your final inspections from the city or county. They'll want to make sure everything was built to code. This is why getting those permits upfront was so important.
- Finishing Out: Now's the time for interior walls, flooring, insulation, or anything else that turns your shell into a functional space. Many of these tasks are very DIY-friendly, depending on your skill set.
- Maintenance: Just like your house, your pole barn needs looking after. Check the roof for leaks, especially after our Dallas hail storms. Make sure the gutters are clear. Inspect the siding for any damage. Check the doors and windows for proper sealing. This regular attention will keep your investment sound for years.
Building a pole barn from a kit can be a really rewarding project. You can save money on labor, and there's a real sense of accomplishment. But know your limits. For things like foundation work, heavy framing, or anything involving electrical or plumbing, don't hesitate to bring in the pros. Sometimes, trying to save a buck ends up costing you more in the long run. If you're ever wondering what's realistic for a DIYer or when it's time to call in the cavalry, give us a shout at Dallas Pole Barn Solutions. We've helped plenty of folks navigate these projects, whether it's a full build or just lending a hand on the tricky parts.